Thursday 12 March 2015

Introducing... MicroMulch!

As I was keen not to use chemicals when growing my trees, the only other option to control weeds was mulching. Unfortunately, the membrane used was a bit flimsy and although it might have been OK with woodchip on top, the amount needed and the difficulty in carrying to where it was needed, meant that most of the trees didn't get mulched as much as they should have been.

What's the purpose of mulch? Weed control and keeping moisture in the soil. The latter isn't a problem, in many places there is too much moisture and I'm worried the trees are going to drown, but the sheltered conditions inside the tree tubes is also ideal for many weeds, mainly grass but also docks, sorrels and rushes.

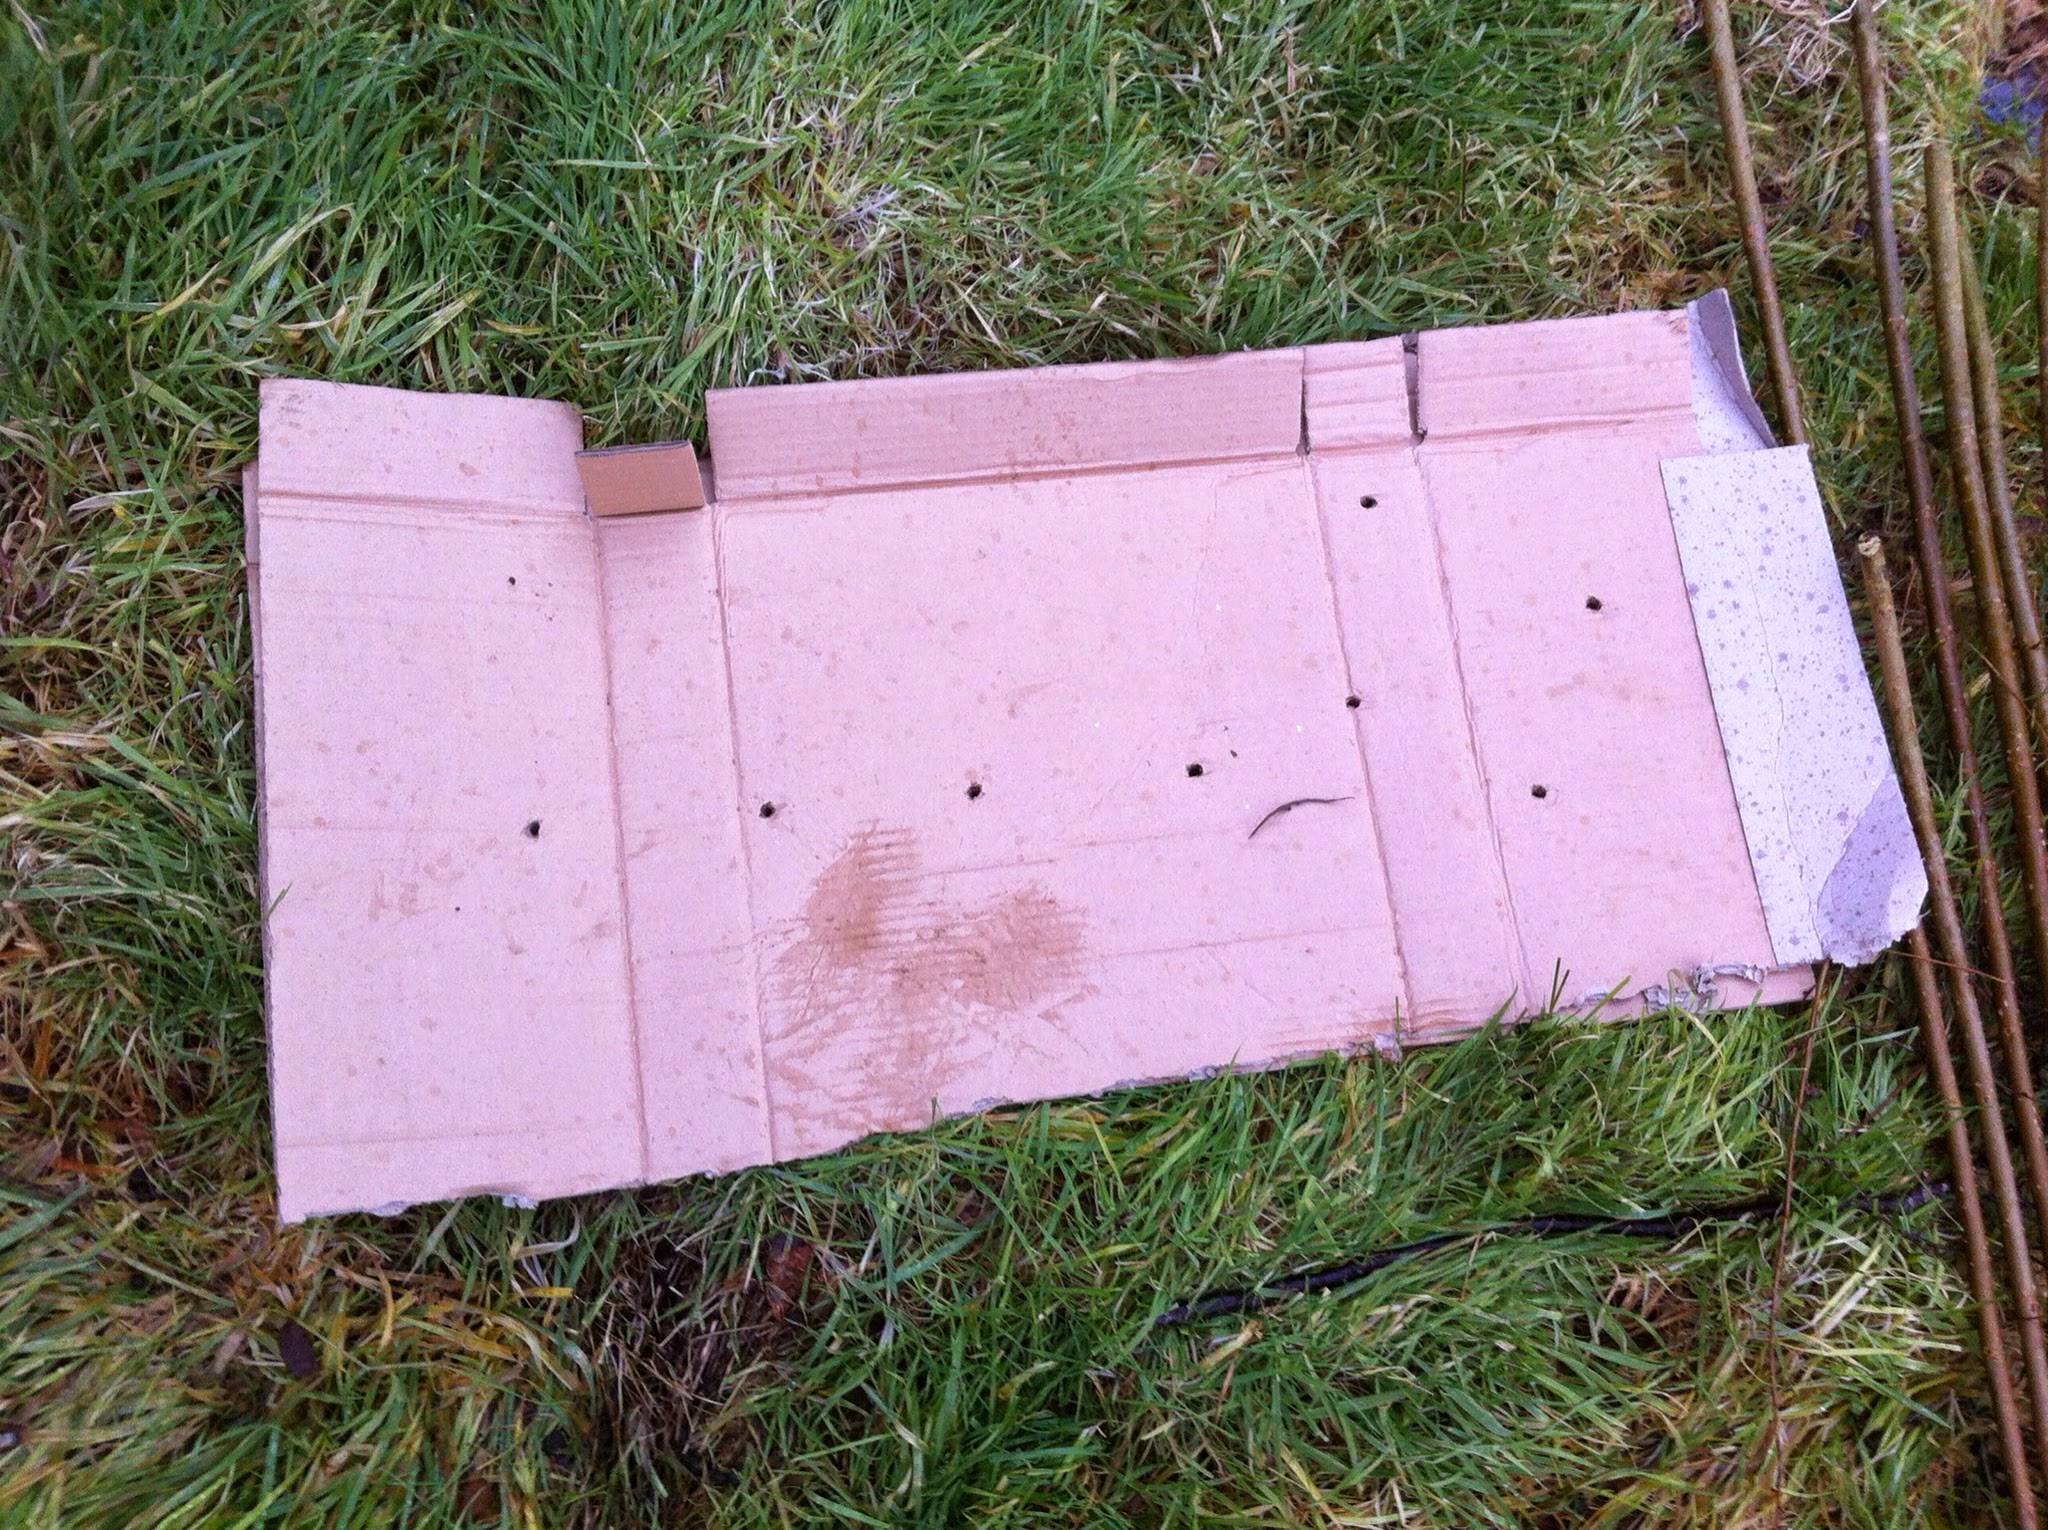
Lifting the tubes to remove the weeds is quite therapeutic, especially on a sunny day like today, but I got the feeling that I was only delaying the problem and that the weeds would soon grow up again. A parcel that arrived was wrapped in cardboard and it gave me an idea:

A few minutes work with scissors gave me a handful of postcard sized mulch mats that could be put around the trees in the bottom of the tubes. Easy to make and carry (again, to carry full sized pieces for mulching would not be practical and also sheet cardboard tends to make ideal habitat for voles, which have already destroyed a number of trees. Applying the mats is easy and gives a light proof barrier that should help suppress weeds for a few months, before the cardboard rots away. Hopefully in that time, the trees should be well enough established that they won't need further care

The tube is just pushed on top of the cardboard, holding it securely in place:

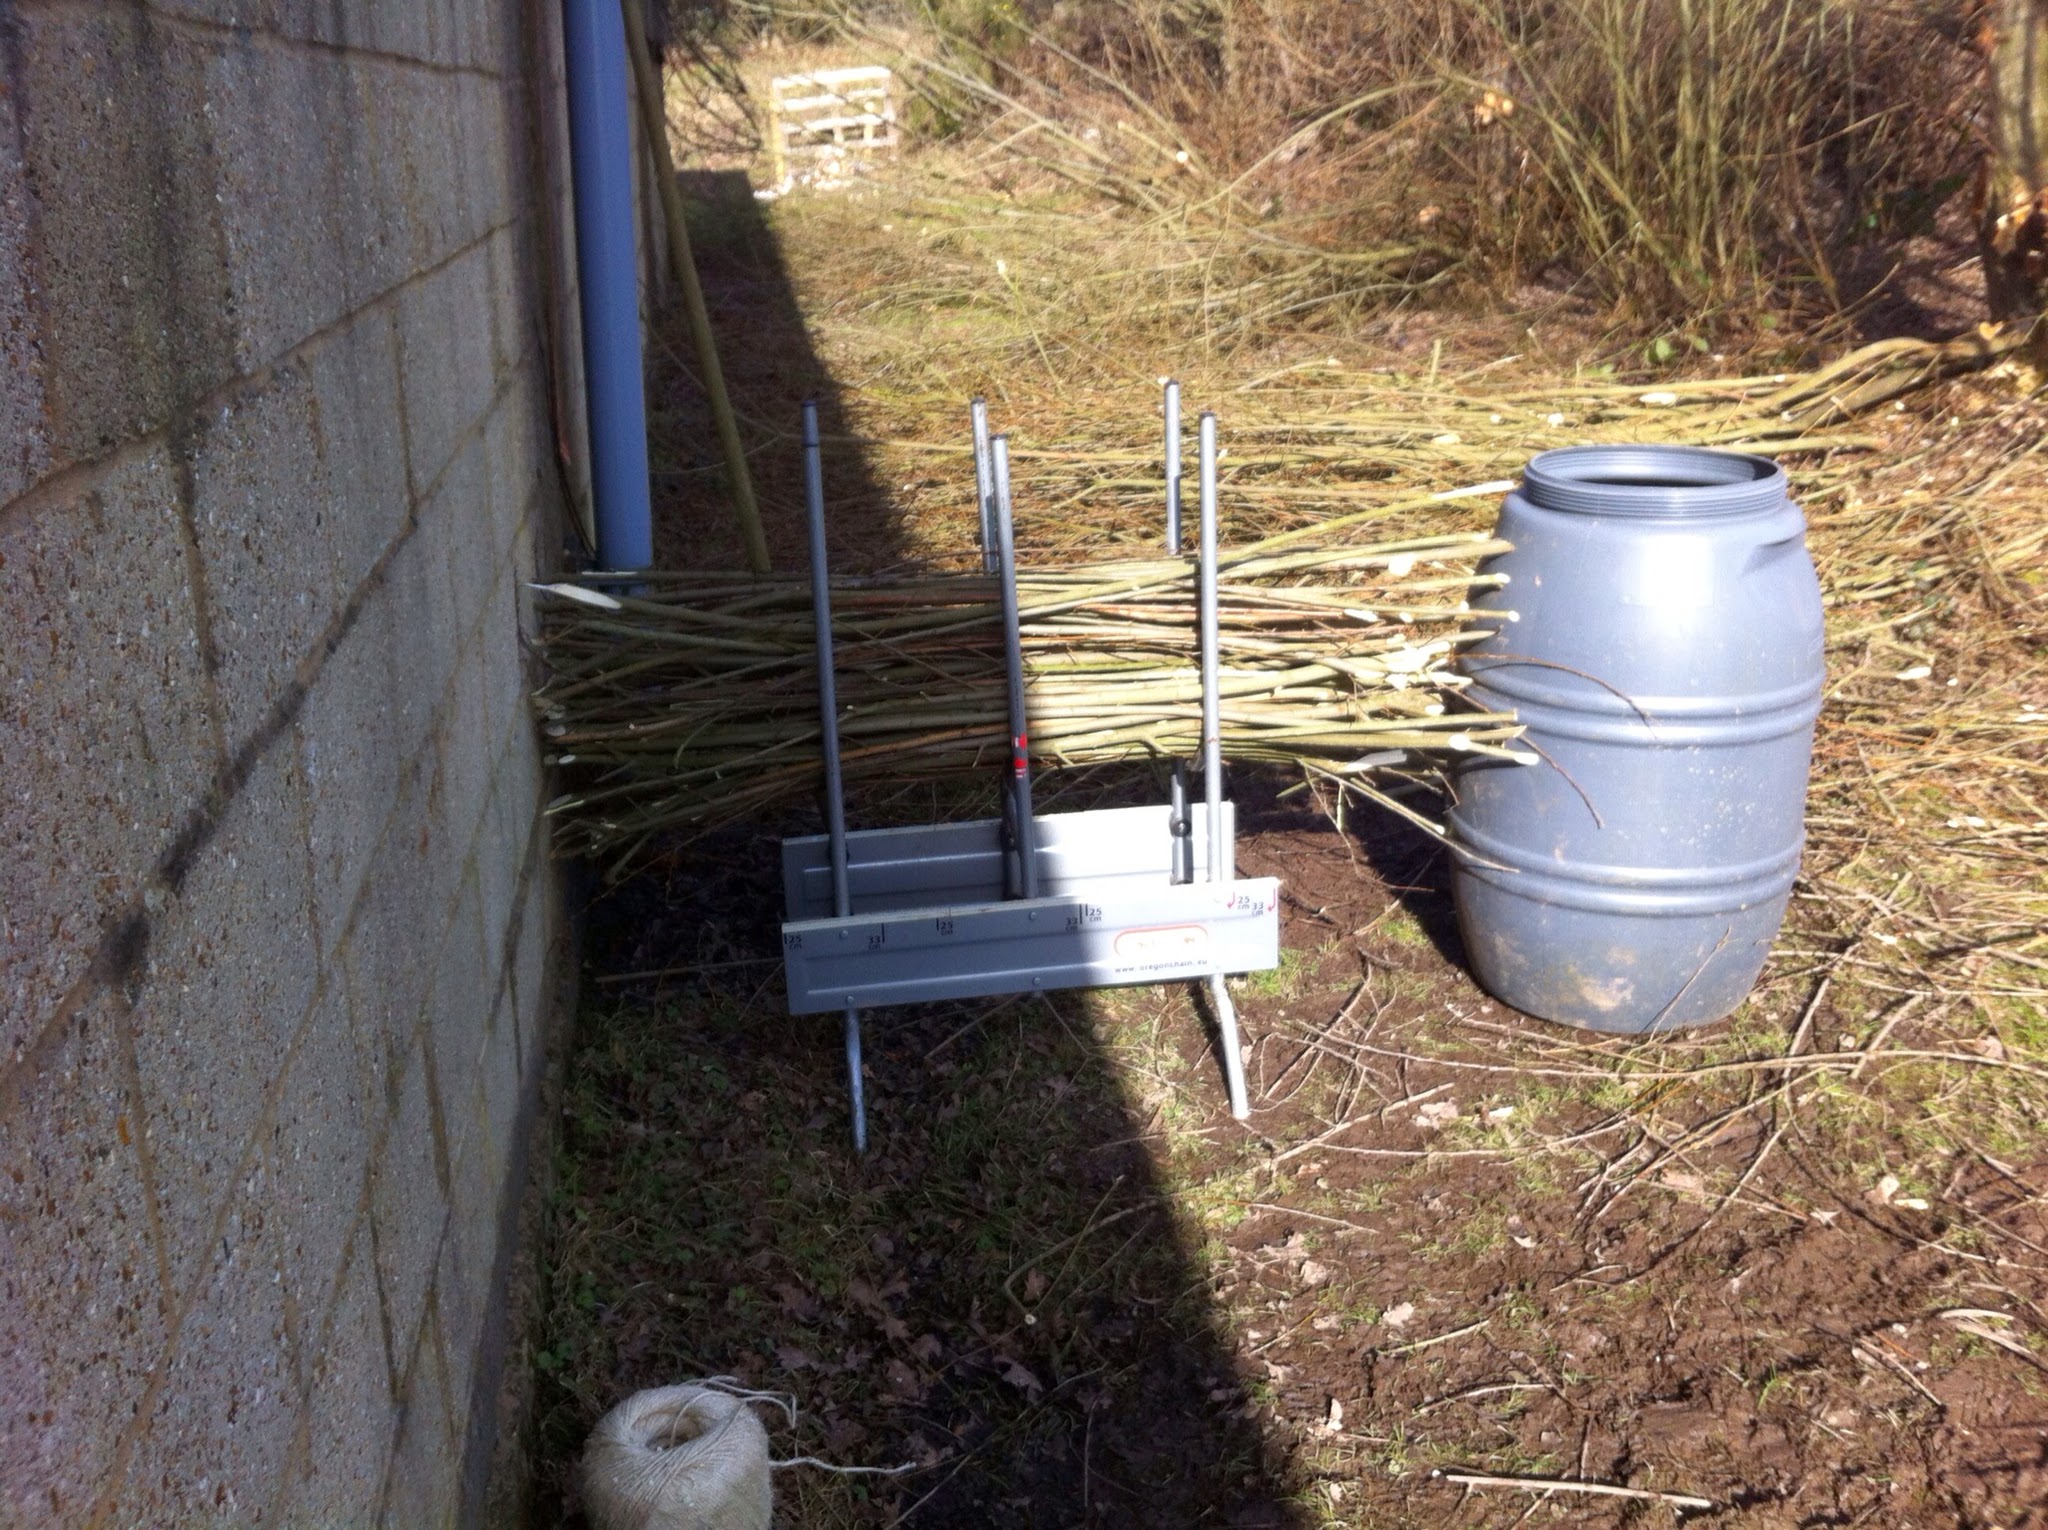
In about 30 minutes I'd mulched about 40, which is a lot quicker than conventional mulching would have taken. As predicted, the trees that had dropped enough leaves down inside the tube had made conditions too difficult for weeds (self mulching) - if only they were all like that.

I'm not sure how much affect weeds have when the trees are out of the tubes but it certainly looks neater when inspecting them - satisfying to see how thick some of the stems have grown - roll on spring!


Tuesday 10 March 2015

Pesky wabbits!

One of the areas I've planted in is called "Fairy Grove" - it was initially planted by my wife and daughter as a circle of trees with a few surrounding it. As a surprise with some of the osier I'd cut back, I'd planted a little arch as an entrance way. In time we'll add to it so I'd put a few sticks in the ground nearby that should grow and could be woven in eventually. I made a template from cardboard which would be used to mulch them (we'd cover it in woodchip):

However, in these food scarce winter months, the rabbits are looking for things to eat and they stumbled across my willow. This was the result:


It's pretty tough stuff so it might survive but I quickly put spirals around the longer lengths which had also been attacked and they're already putting out catkins:


With the extra trees that I'd ordered the little Fairy Grove now has 62 planted in it - a veritable little forest!


A spot of coppicing

Along the side of the barn there is a row of willow trees. From what I can tell they are grey willow and frankly, they're not of a great deal of use. I'd coppiced a few of them last year and aside from some material to make dead hedges with and a small amount of thin firewood, it was a lot of work for little result.

They have grown back, though, not as vigorously as I might have expected but they put out about 8 feet of growth in a year. I was comparing them to osier, though, which is one of the fastest growers.

Anyway, the willows are underneath a power line and getting fairly close to it. Thought I'd neaten things up a bit so set to with the chainsaw and billhook:


The plan is to remove the new shoots from around the base of the trunks and end up with neatly pollarded trees. The regrowth from when they've been cut in the past is quite twisty and tangled in places plus it makes access down the side of the barn awkward when they come out low.

The poles were stacked up in my saw horse and cut to length. It's not big diameter stuff but burns really hot (when dry) and is good to get a fire going:

The saw horse (Oregon) makes it easy to cut lots of long bits to length at once:


With a bit of the leylandii thrown in for good measure that we had trimmed last week, it came to a reasonable volume and saves having to burn them on a bonfire:

Still not convinced it was worth the work but they needed doing and waste not want not!


See you next year!

The question remained of what to do with all the brash left over. It's very springy stuff and doesn't burn well when green as willow has one of the highest water contents but a few minutes with the saw horse and some sisal string made for some faggots. These can either be cut to length for burning in the log stove or used as the base of a future bonfire, maybe at the Summer solstice:


A friend of ours gave us an oil barrel that has been converted into a garden burner so we might burn the faggots in there to keep people warm for BBQs. Used a slip knot to secure the bundles so as they dry out I can tighten them up easily. I chose sisal as it's cheap and strong and safe to burn. Traditionally, they would have been tied with brambles and although we have plenty of those, I don't yet have a proper jig in which to make them with and bramble wouldn't take the strain. Some conservationists use them for reinforcing river banks but they take a long time to make (made 3 so far!) so not really a commercial proposition but I might make some enquiries if they fail to burn. There's still a large amount of brash left that needs dealing with - a tree surgeon would just chip it but I don't have a chipper and not worth hiring one in for such a relatively small amount.


Quite an industrious little setup!